
Install with Helm
Install the Kedify Agent, KEDA and HTTP Scaler in one Helm release. For an existing upstream KEDA installation, start with migration.
Prerequisites
- A Kubernetes cluster, an authorized
kubectlcontext and Helm. - A Kedify account and the organization credentials below.
- Reviewed Versions, component sizing and networking requirements.
Get the command from the Dashboard
In Overview or Clusters, select Connect Cluster → Helm Installation. The dialog provides the installation steps. For manual setup, obtain the credentials below.
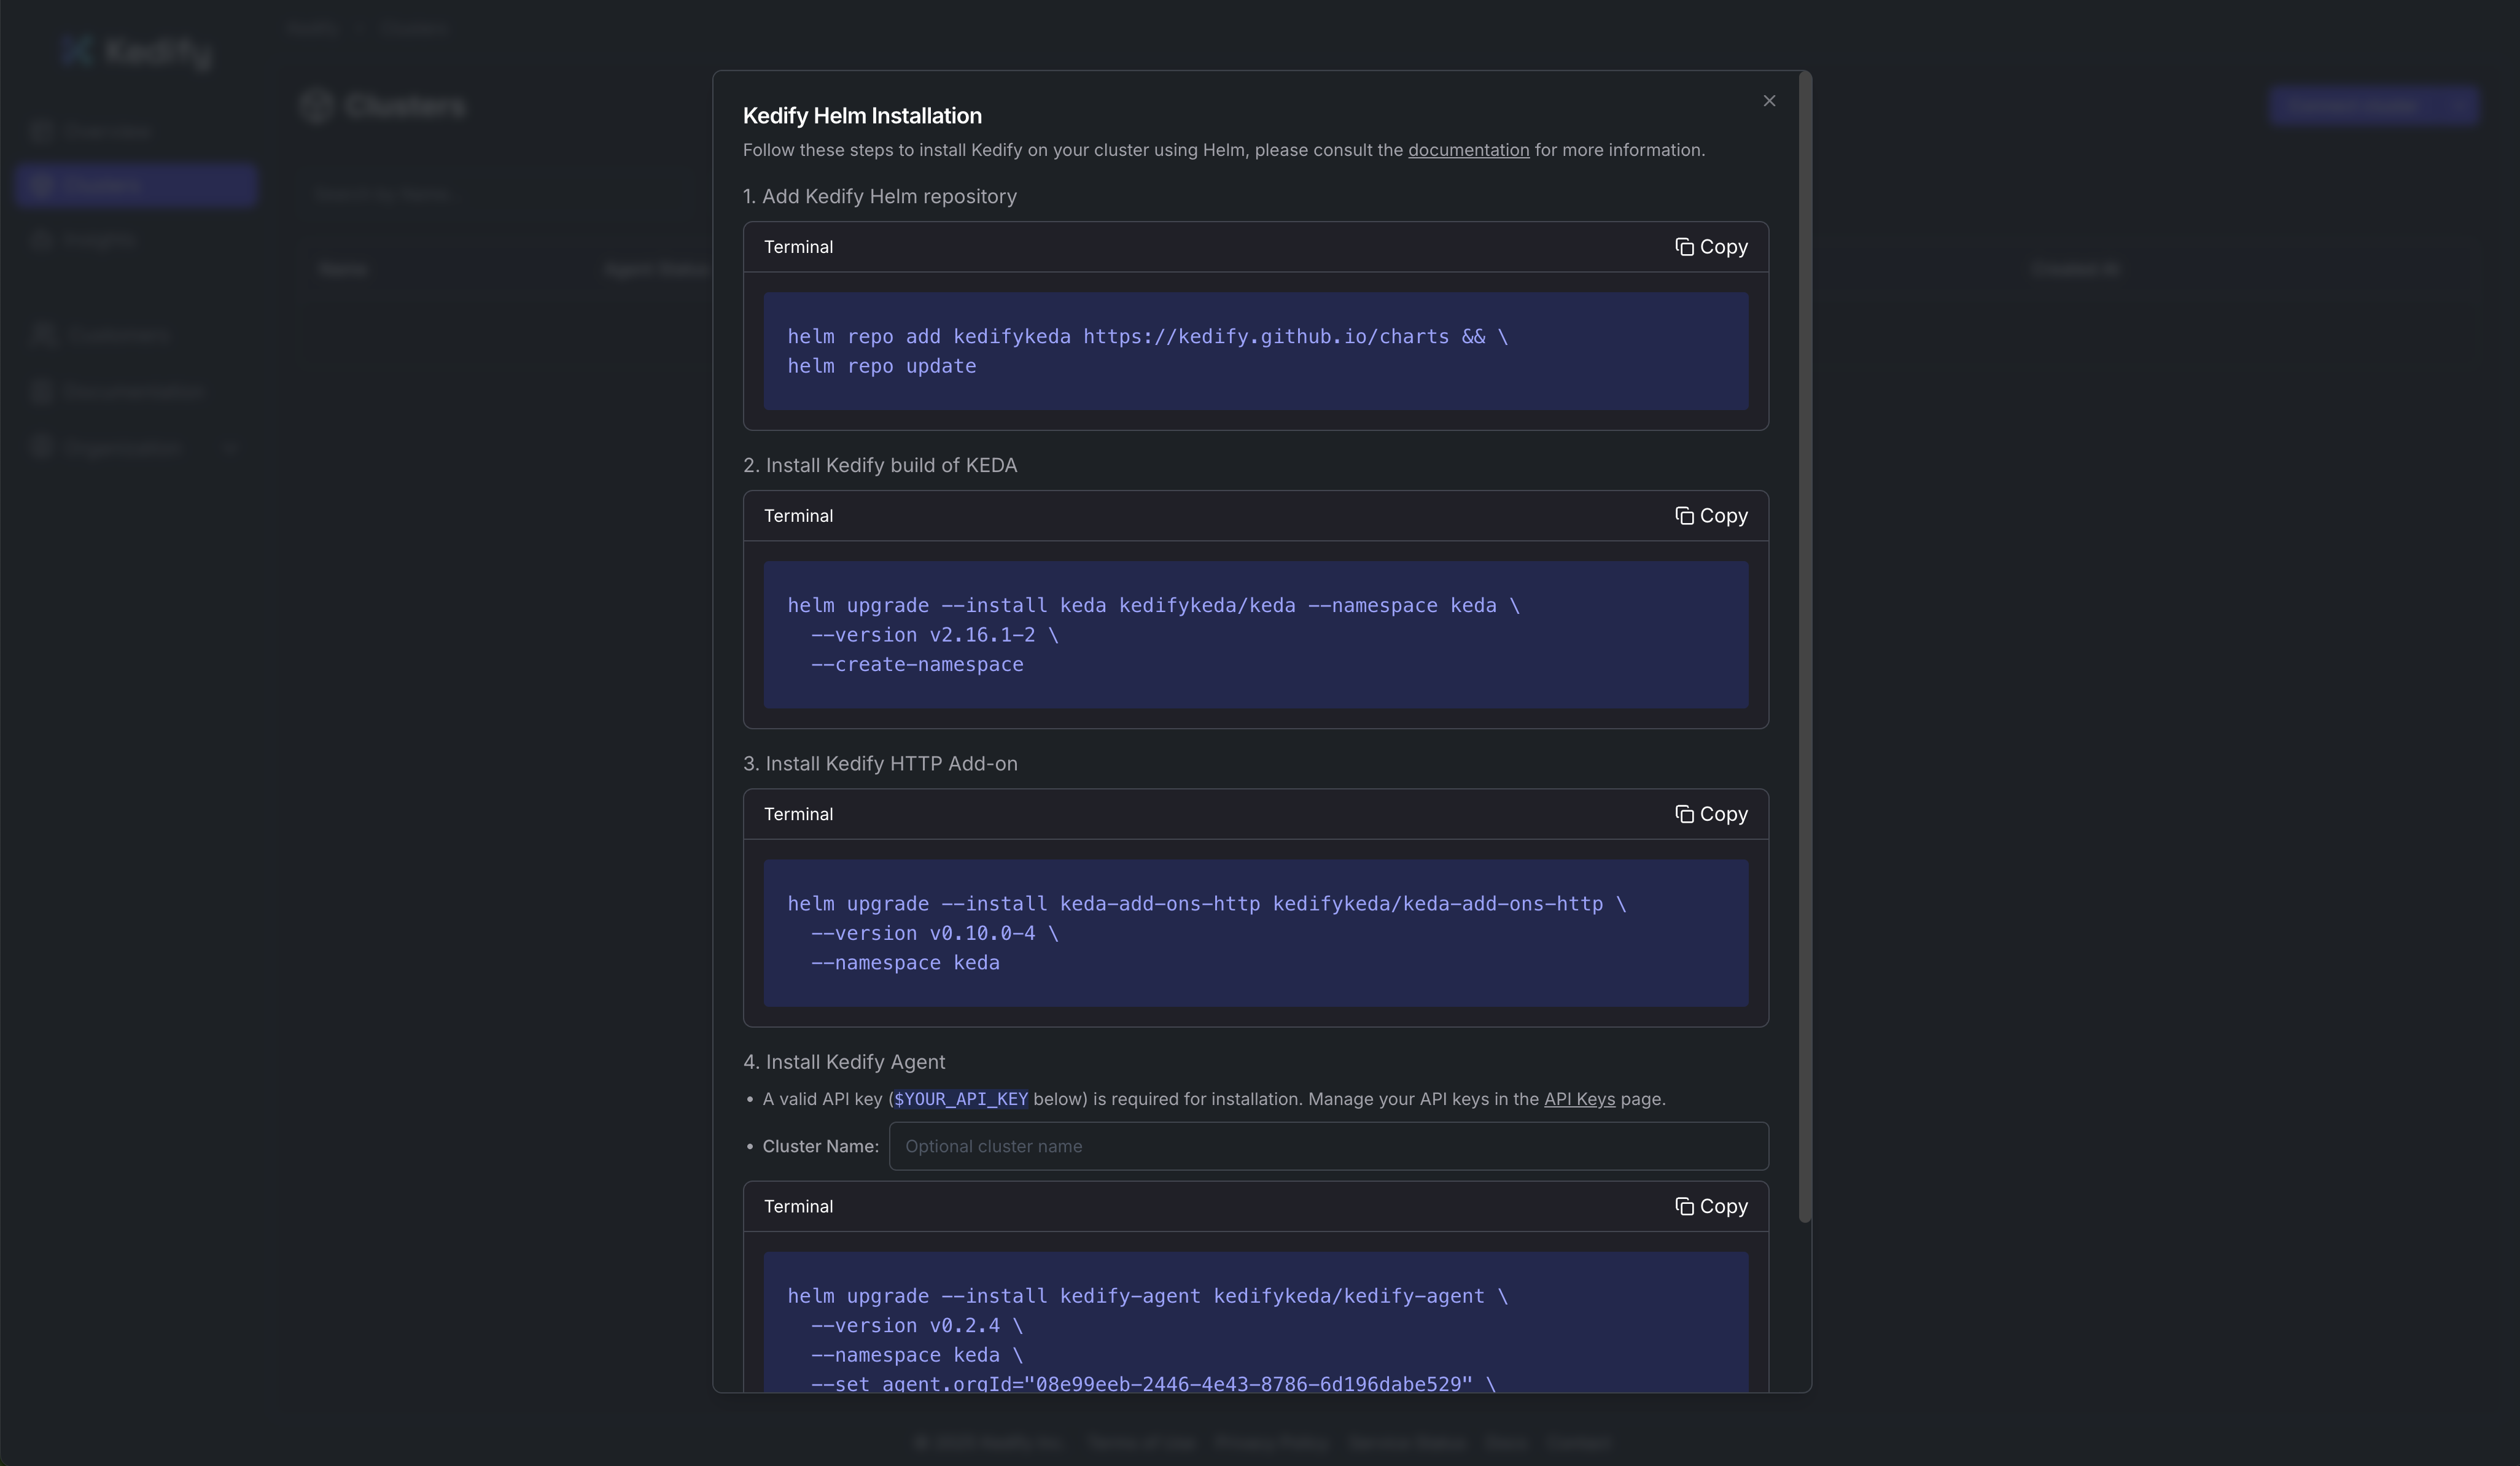
Prepare Installation
Follow these steps to install Kedify using Helm manually.
Getting Organization ID
In the Kedify dashboard, navigate to Organization and select Details. Copy the ID.
Alternatively, if you already have an existing installation, you can read the Organization ID using:
kubectl set env -nkeda deployment/kedify-agent --list | grep KEDIFY_ORGANIZATION_IDGetting API Key
If you already have a Kedify Agent deployed, you can retrieve your pre-provisioned API key from a Secret in the same Kubernetes cluster:
kubectl get secret -n keda kedify-agent -o=jsonpath='{.data.apikey}' | base64 --decode
If you don't have an existing Agent, you can generate a new API Key in the Kedify dashboard. Navigate to Organization and select API Keys. Click Create Agent Key and copy the key.
Install
These commands explicitly enable KEDA and HTTP Scaler in the Agent chart. All charts are available in the Kedify charts repository.
Kedify Helm Repository
To install Kedify using Helm, you first need to add the Kedify Helm repository to your local Helm configuration.
helm repo add kedifykeda https://kedify.github.io/chartshelm repo update kedifykedaQuick Installation
Replace clusterName, $YOUR_ORG_ID and $YOUR_API_KEY with your installation values.
This command installs the Kedify Agent along with KEDA and the Kedify HTTP Scaler. If you don't want to install KEDA or the HTTP Scaler, you can disable them by setting keda.enabled=false or keda-add-ons-http.enabled=false.
You can also install additional components such as the OTel Scaler and Kedify Predictor. You can enable them by setting otel-add-on.enabled=true or kedify-predictor.enabled=true respectively.
helm upgrade --install kedify-agent kedifykeda/kedify-agent \--namespace keda \--create-namespace \--version v0.8.0 \--set clusterName="my-cluster" \--set agent.orgId="$YOUR_ORG_ID" \--set agent.apiKey="$YOUR_API_KEY" \--set keda.enabled=true \--set keda-add-ons-http.enabled=true \--set otel-add-on.enabled=false \--set kedify-predictor.enabled=falseVerify the installation
kubectl get pods -n kedakubectl get apiservice v1beta1.external.metrics.k8s.ioConfirm the enabled components are ready and the external metrics API reports AVAILABLE=True. Check the cluster connection in the Dashboard, then configure a scaler and verify workload behavior. Autoscaling Checks can exercise the signal-to-replica path.
Other installation paths
- Separate component releases
- Argo CD
- Terraform
- ARM nodes
- Custom DNS and Istio
- Multi-tenant installation
- Private registry
Configuration reference
Helm values · Capability enablement · KedifyConfiguration · Access and data boundaries